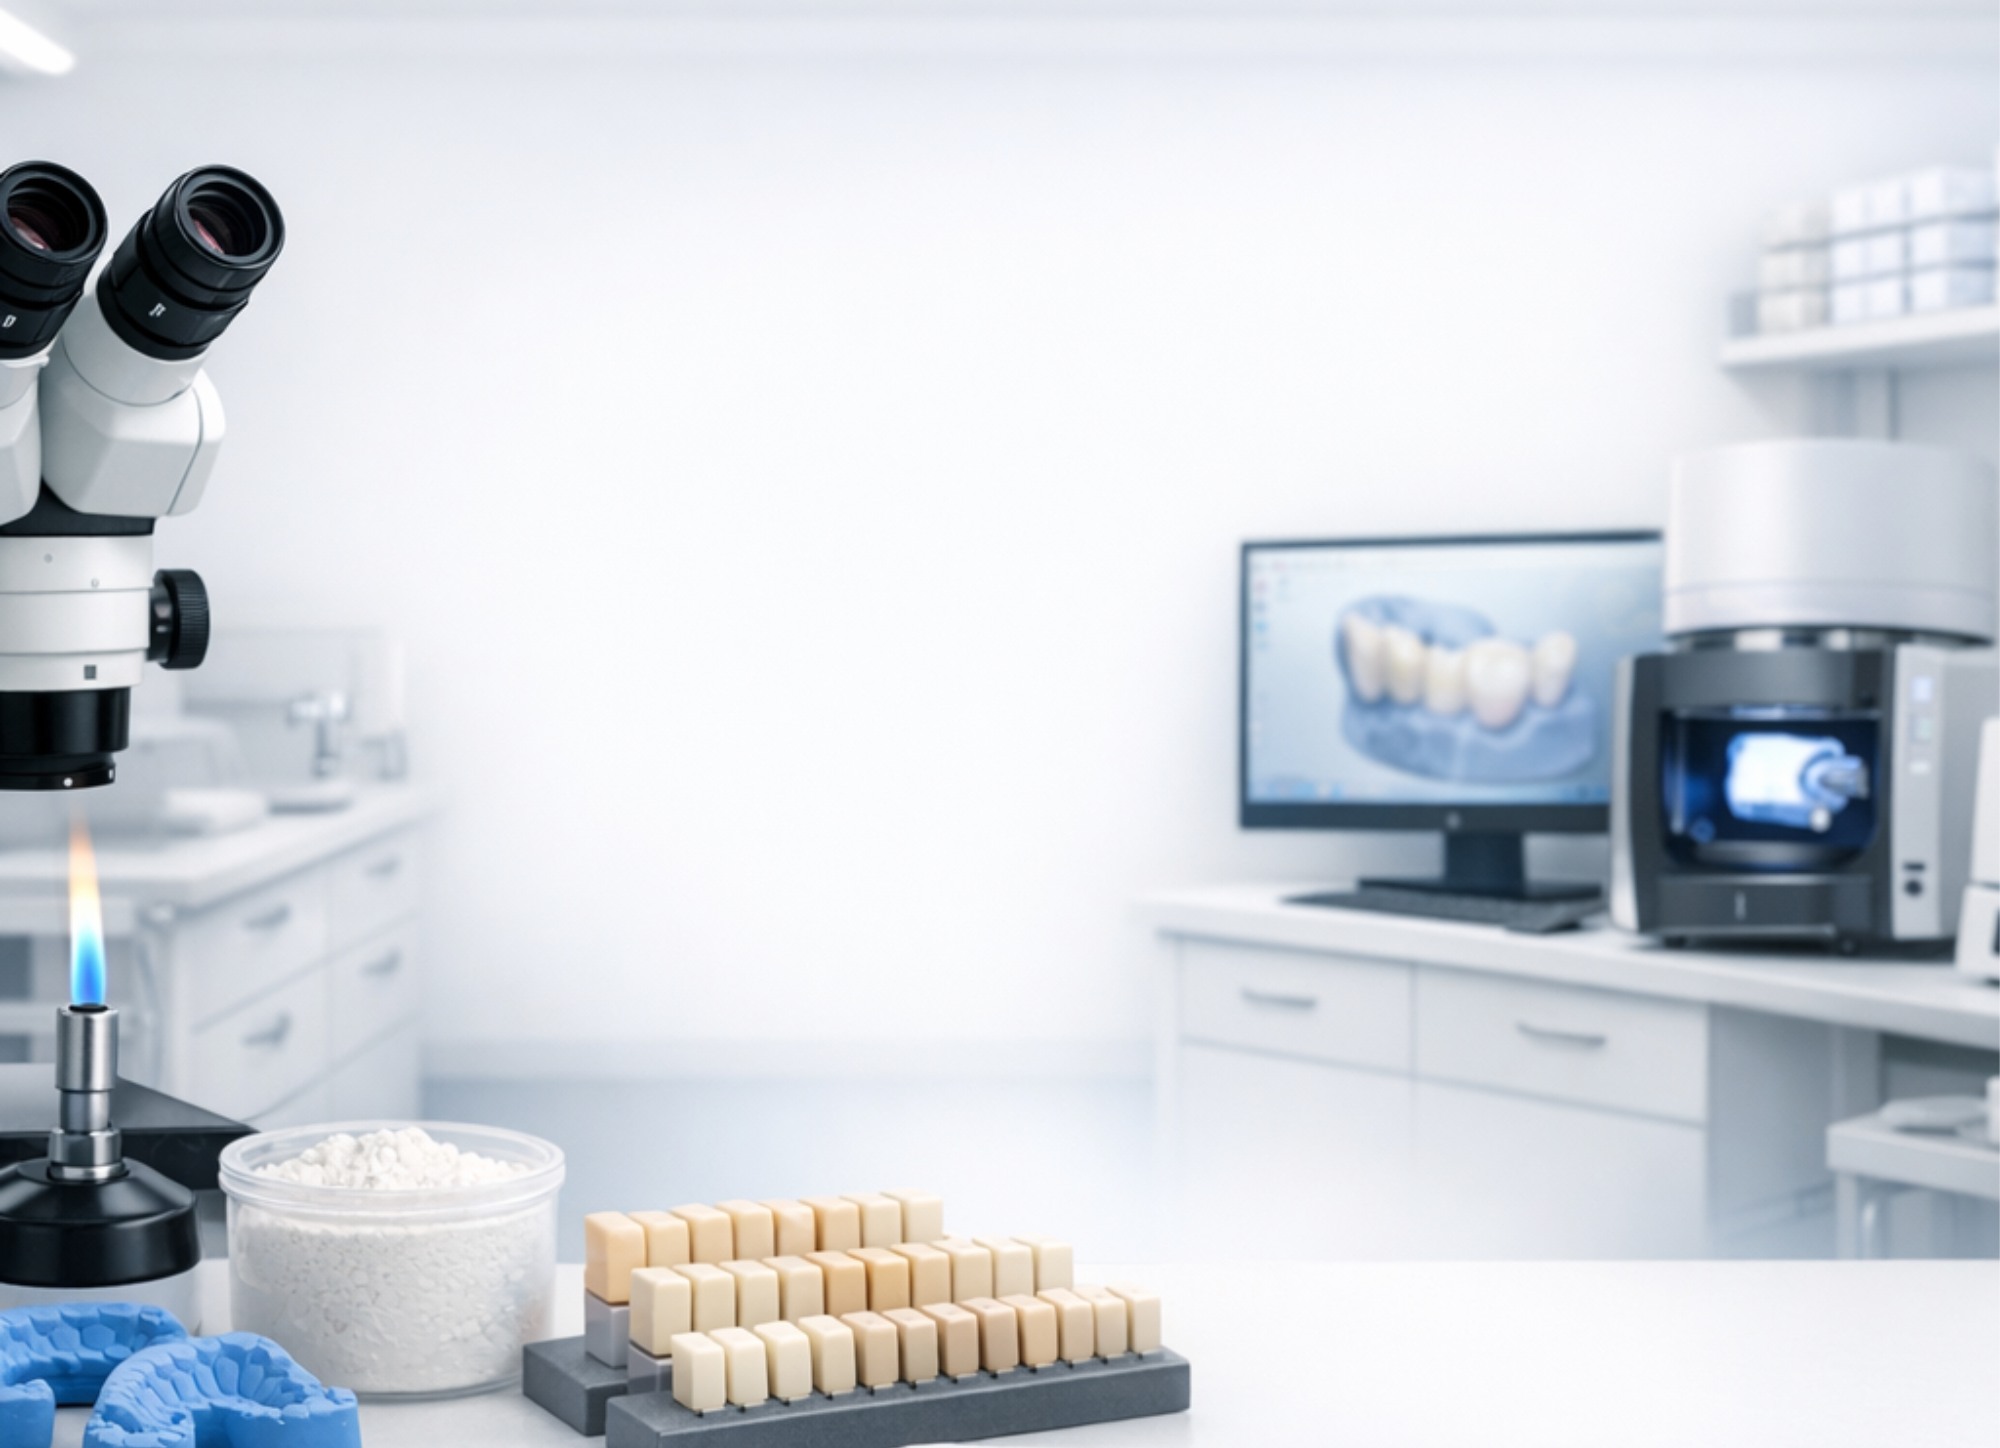
Odontogram
The odontogram of Odontomy centralizes diagnosis and treatment planning. It allows for marking findings by tooth and surface, working with adult or child dentition, and applying findings individually or with multiple markings. From the odontogram, the diagnoses of the plan are constructed, clinical notes are added for each tooth, and procedures/services are linked to define the work plan and its progress (planned, pending, completed). Additionally, it integrates the financial impact of the treatment (budget, discounts, paid and unpaid) and enables payment recording. It includes an extensible catalog of clinical findings (with variants, types, import/export) and assignment of standardized diagnoses based on ICD-10.

Odontogram
The Odontogram is the operational center of the treatment plan: it allows for recording the patient's oral status, marking findings by tooth and surface, associating diagnoses (ICD-10), linking procedures/services, tracking evolutions, and reflecting the economic impact (budgets, debts, payments).
1) Access and Context within the Treatment Plan
The odontogram is used within Treatment Plans. From there you can view and manage:
- Financial summary of the treatment: budget, discounts, completed, paid, and to be paid.
- Plan data: name, patient, clinic/branch, doctor, and plan status.
- Interactive odontogram (adult/child) to record findings and build the diagnosis.
- Work sections: Diagnoses, Procedures, Laboratory, and Plan Details.
2) Interactive Odontogram
2.1 Adult / Child
The odontogram allows toggling the view between Adult and Child based on the patient. This modifies the tooth scheme and facilitates correct recording in either primary or permanent dentition.
2.2 Selection of Teeth and Multiple Marking
The odontogram is designed for efficient work in the office:
- Selection by tooth: choose a tooth to record findings or add notes.
- Multiple marking: allows selecting several teeth and applying the same finding/action in bulk (ideal for check-ups, orthodontics, repeated restorations, etc.).
- Assign finding: opens the findings search tool to apply the record to the corresponding tooth or surface.
3) Findings: Search, Assignment, and Visual Reference
3.1 Search and Assign Finding
By pressing Assign finding, a search panel opens. There you can:
- Search by finding name.
- View findings already assigned to the selected tooth (and remove them if necessary).
- Apply findings with variants when the type requires it (e.g.: good/bad condition, surface variants, etc.).
- Update the list of assigned findings to keep the view synchronized.
3.2 Reference of Findings
The system includes a section for Reference of Findings (dropdown) that acts as a “legend”: it shows available categories and variants (for example: cavities, restoration, orthodontic appliance, periodontal pocket, veneers, crown, diastema, healthy tooth, edentulous, among others), facilitating quick interpretation of the odontogram.
3.3 Extensible Clinical Findings (Catalog)
The clinic can manage its catalog of findings from Clinical Findings:
- Create new findings to adapt the system to your way of working.
- Import defaults and use Export / Import to back up or migrate settings.
- Manage code, name, selection mode (e.g.: selection by variant), scope (e.g.: surface), clinic (global master or specific clinic) and active status.
- Quick actions: Edit, manage Variants, define Types, Duplicate, and Delete.
4) Clinical Notes by Tooth (Tooth Notes)
Each tooth can have associated clinical notes. When creating a note, you can complete:
- Category (default: Odontogram).
- Date of record.
- Content of the note (observations, specific findings, instructions, follow-up).
- Keywords (optional) to facilitate searches and clinical auditing.
This allows documenting sensitivity, check-ups, post-procedure observations, and any record that should not be lost between visits.
5) Diagnoses of the Plan and Assignment of ICD-10
5.1 Diagnoses Built from the Odontogram
The Diagnoses module consolidates what is marked in the odontogram and transforms it into an operable list:
- The tooth number and the finding are recorded.
- It allows linking the diagnosis with services/procedures.
- It allows adding supplementary notes for each diagnosis.
- Includes actions to manage or remove items when appropriate.
5.2 Select Diagnosis (ICD-10)
The system includes a catalog of ICD-10 diagnoses that can be searched by text and selected quickly. When selecting a diagnosis, you can associate it with the plan, maintain clinical traceability, and standardize reports.
5.3 List of Diagnoses (Administration)
From Diagnoses (list), you can review the available catalog, search, create new records if your operation requires it, and manage categories. This complements clinical use within the plan.
6) Procedures and Treatment Evolution
6.1 Link Procedures to Diagnoses and Teeth
Once the findings are identified, the next step is to define procedures (services) to be performed. The system allows:
- Select procedure from a list with: service, code, unit cost, and categories.
- Organize by sections (for example: “General”, “Evolution”, “Orthodontics”, etc.) to keep the plan clear and organized.
- Update procedure: edit status, units, unit price, discounts, and taxes.
6.2 Status, Follow-up, and Completion
Each procedure can have statuses (for example: planned, pending, completed), allowing for recording evolution, controlling compliance, and maintaining a history of treatment progress.
7) Financial Impact: Debts and Payments
The odontogram and the linked procedures feed into the financial summary of the plan:
- Total budget of the treatment.
- Configurable discounts.
- Completed: what has been executed to date.
- Paid and To be paid.
- Direct action to receive payments and keep the patient's account updated.
This allows the clinic to work clearly: clinical and financial aspects are aligned in the same flow.
8) Laboratory
When the plan requires prosthetic or laboratory work, it can be managed from the Laboratory section. The system allows selecting laboratory products with key information:
- Product name, associated laboratory.
- Clinic cost and patient price.
- Estimated days.
- Status (for example: active) and action to select.
9) Best Practices for Use
- First record findings in the odontogram and then consolidate diagnoses.
- Link procedures to each diagnosis to maintain clinical traceability.
- Use multiple marking to speed up check-ups or repeated records.
- Add notes by tooth when there is relevant clinical information for follow-up.
- Keep the clinical findings catalog updated (variants/types) according to your protocols.
Additional Information
Related Content

Orthodontics
Manage orthodontic exams, work plan, treatment plan, clinical summary, and patient images in a singl...
Laboratories Module
Manage laboratories, services, orders, and payments in a traceable flow. Standardize costs and times...

Privacy Policy
This Privacy Policy explains how Odontomy collects, uses, stores, and protects the personal informat...